Agent inboxes let your AI agent receive incoming email on your behalf. Once connected, your agent can read, triage, and respond to messages — just like a human team member monitoring the inbox.Documentation Index
Fetch the complete documentation index at: https://docs.emanate.ai/llms.txt
Use this file to discover all available pages before exploring further.
Prerequisites
Before setting up forwarding, make sure you have:- Connected your domain in Emanate (Settings → Email → Domains)
- Created an agent inbox on that domain
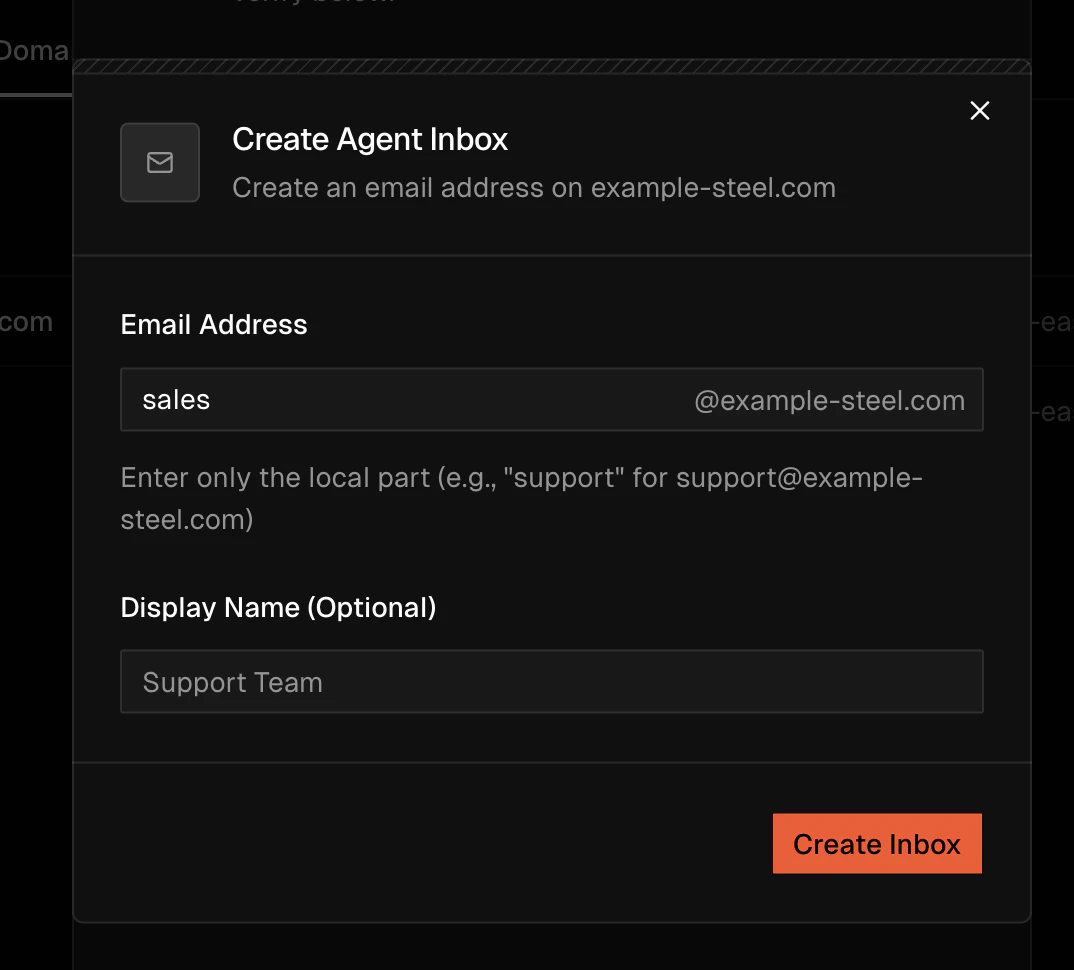
Creating an Agent Inbox
Navigate to Settings → Email and select the Domains tab. After your domain is verified, click Create Inbox and fill in:| Field | Description | Example |
|---|---|---|
| Domain | Your verified domain | abc-steel.com |
| Email Address | The local part of the address | sales |
| Display Name | Friendly name (optional) | Sales Team |
sales@abc-steel.com.
Your agent inbox address must match the forwarding destination you configure in your email provider below.
Connecting Your Inbox
To get incoming mail into Emanate, set up email forwarding in your email provider. This sends a copy of every incoming message to your agent inbox address. Choose your provider below:- Gmail
- Microsoft Outlook
Forward Gmail to Your Agent Inbox
Add Forwarding Address
Click Add a forwarding address and enter your Emanate agent inbox address (e.g.,
sales@abc-steel.com).Confirm the Address
Google sends a confirmation code to the forwarding address. Emanate will receive this email — check your agent inbox in the platform and enter the confirmation code in Gmail, or click the confirmation link.
Enable Forwarding
Back in the Forwarding and POP/IMAP tab, select Forward a copy of incoming mail to and choose your agent inbox address from the dropdown.
Choose What Happens to the Original
Select one of:
- Keep Gmail’s copy in the Inbox — recommended so you still see emails in Gmail
- Mark Gmail’s copy as read
- Archive Gmail’s copy
Verifying Forwarding Works
After setting up forwarding:- Send a test email to your original inbox (e.g.,
john@abc-steel.com) - Check your Emanate agent inbox — the forwarded copy should appear within a few minutes
- If the message doesn’t arrive, double-check:
- The forwarding address matches your agent inbox exactly
- Your domain DNS records are verified in Emanate
- Your email provider confirmed the forwarding address
How It Works
Once forwarding is active:- Someone emails your original address (e.g.,
john@abc-steel.com) - Your email provider forwards a copy to your agent inbox (e.g.,
sales@abc-steel.com) - Emanate receives the message and your agent can process it
- The agent can draft and send replies from the agent inbox address
Your original inbox keeps working normally. Forwarding sends a copy — it doesn’t redirect or remove the original message.
Linked to Lead / Account Badge
Once your inbox starts syncing, every thread is automatically matched to the lead or account whose contacts are participating — and a Linked to badge appears on the thread row in the inbox list.- Click the badge to deep-link straight into the matching lead or account drawer, with the thread already scrolled into view on the Interactions tab.
- Matching uses the canonical contact email; for accounts, any contact on the account is enough to pair the thread.
- Threads with no match show no badge (rather than a noisy “Unmatched” placeholder).
AI Model Selection
Each inbox can pick the model that drives its agent’s drafting and replies. Under AI Settings → AI Model, choose any of:| Model | Notes |
|---|---|
| GPT 5.5 | Default. Fast, high-quality reasoning across most reply patterns |
| Claude Opus 4.7 | Best for long-context threads and nuanced tone matching — particularly strong on technical procurement / RFQ replies |
| Plus the prior-generation defaults that shipped before v2.10 |
Per-Record AI Overrides
The inbox-level configuration (agent, mode, knowledge base) is the default that applies to every thread the inbox processes. You can override that default at three finer levels — useful when a single inbox handles a mix of audiences (e.g. inbound sales + enterprise renewals + procurement RFQs) that each warrant different agent behavior.Precedence
When an email arrives, Emanate resolves the agent in this order — the first match wins:| Priority | Level | Where to set it |
|---|---|---|
| 1 | Thread | Inside the thread view, AI Auto-Response panel |
| 2 | Lead | Lead drawer → Interactions tab → AI Auto-Response |
| 3 | Account | Account contact drawer → Interactions tab → AI Auto-Response |
| 4 | Inbox | Default configured on the agent inbox itself |
What the Override Controls
Each override can change any of:- Agent — which AI agent runs (or None to fall back to the next level)
- Mode — Auto-draft (prepares a reply for review) or Auto-reply (sends without confirmation)
- Knowledge Base — whether the agent uses the org KB
- Inbox History — whether the agent reads prior threads on the same inbox as context
Provider Coverage
Per-record overrides apply to threads received through a directly connected mailbox — Gmail or Outlook via the Shared Inbox connector. Threads handled by domain-only inboxes (forwarded sends and broadcasts) continue to use the inbox-level configuration.Sticky Behavior
Overrides are sticky by design — once you set a lead-level agent, it keeps applying even after you later change the inbox default. To stop using an override, set the agent picker on that record to None and save.Next Steps
Knowledge Base
Give your agent context to answer emails accurately
Email Integration
Configure email templates and sending settings